
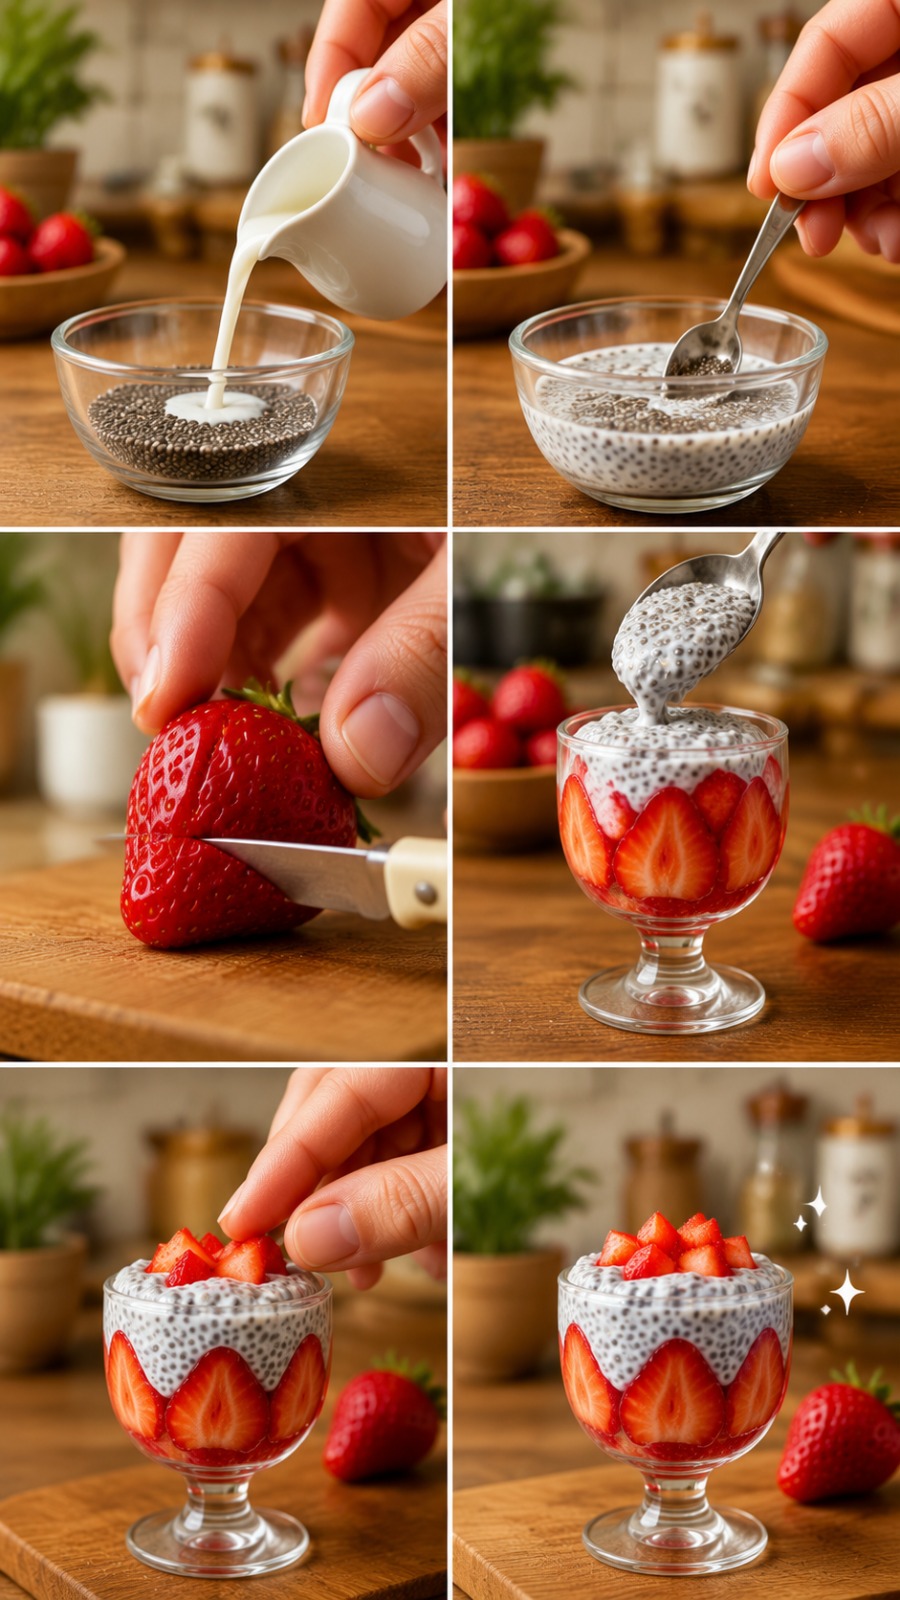
Create a photorealistic 6.14-second vertical 9:16 miniature cooking video showing a tiny strawberry chia pudding parfait being prepared in… — a ready-to-use prompt for detailed AI video generation.
AI Video Prompt
Create a photorealistic 6.14-second vertical 9:16 miniature cooking video showing a tiny strawberry chia pudding parfait being prepared in a bright cozy kitchen. Use macro cinematography with very shallow depth of field. The background should remain softly blurred and include a pale tiled backsplash, light wooden countertop, shelves with small kitchen containers, a green potted plant and neutral cream-and-wood tones. Use soft warm daylight from the upper-left or front-left. Shot 1: Milk Pour, 0:00–0:02 Place a small transparent round glass bowl at the center of a smooth wooden countertop. Fill the bottom with a dense layer of dry dark gray-black chia seeds. One light-skinned adult hand enters from the upper-right holding a tiny white ceramic creamer with a small curved spout. The hand has short clean natural nails and no jewelry. Tilt the ceramic pitcher slowly. Pour one smooth continuous stream of opaque white milk directly into the center of the chia seeds. The milk must fall under gravity, pool from the bottom upward and gradually surround the seeds. Some seeds shift, rise and begin floating, while others remain clustered near the bottom. Create gentle ripples but no splashing or overflow. Keep the bowl stationary and transparent. Maintain the pitcher above the bowl without touching the rim. Shot 2: Stirring, 0:02–0:03 Use a quick clean cut while preserving the same bowl, countertop, lighting and kitchen background. The glass bowl now contains milk with chia seeds suspended throughout. One light-skinned hand enters from the upper-right holding a tiny reflective metal spoon. Lower the spoon into the mixture and stir in compact circular motions. The spoon should move the seeds through the milk, breaking up dense clusters and creating a more evenly distributed black-speckled mixture. Add small natural surface waves and minimal spoon-to-glass contact. Do not splash liquid outside the bowl. Shot 3: Strawberry Cutting, 0:03–0:04 Cut to a small rectangular wooden cutting board in the same kitchen. Place one fresh bright red strawberry upright near the center. The fruit has realistic pale seeds embedded in its glossy red surface. A light-skinned hand steadies the upper part of the strawberry with two or three fingers. A small pale miniature knife enters horizontally from screen-right. The knife blade contacts the strawberry’s side and begins one controlled slice. Keep the fruit grounded on the board. The fingers must remain safely above the blade path. Show a fresh moist red cut surface without crushing the fruit. Shot 4: Parfait Assembly, 0:04–0:05.5 Cut to a tiny clear stemmed dessert glass standing upright in the center of the cutting board. Inside the glass, arrange several fresh strawberry slices vertically around the inner wall. The red fruit surfaces should face outward and remain clearly visible through the glass. Place a lower layer of thick creamy chia pudding inside the cup. The pudding is pale white-gray with evenly distributed dark chia seeds. A hand enters from the upper-center or upper-left holding a miniature metal spoon loaded with another cohesive scoop of chia pudding. Lower the spoon through the opening and gently deposit the pudding between the strawberry slices. The thick mixture should slide off the spoon, settle naturally and raise the dessert level without splashing or overflowing. Keep the strawberry slices pressed against the glass wall. Shot 5: Final Reveal, 0:05.5–0:06.14 Hold a stable frontal macro hero shot of the completed tiny strawberry chia parfait. The stemmed glass remains centered and upright. Creamy speckled chia pudding fills most of the cup. Bright red strawberry slices remain visible along the sides and near the upper edge. One hand may briefly enter from the right to make a tiny final adjustment to the glass or top strawberry placement, then withdraw. Keep one whole strawberry softly visible on the cutting board in the right background. Maintain warm daylight, clean glass reflections, natural strawberry moisture and realistic seed detail. Add no text, logos, faces or extra ingredients.

Social Plugin